How to Use a Blowtorch When Vinyl Wrapping Vehicle
- elmbusinessinquiry
- Jun 5, 2023
- 6 min read

Are you looking to give your vehicle a fresh, new look? Vinyl wrapping is a popular choice for car enthusiasts who want to change the appearance of their vehicles without committing to a permanent paint job. However, the process of vinyl wrapping can be challenging, especially when it comes to using a blowtorch to achieve a smooth and professional finish. In this comprehensive guide, we will walk you through the steps of using a blowtorch when vinyl wrapping a vehicle. With our expert tips and techniques, you'll be able to achieve stunning results that will turn heads on the road.
Vinyl wrapping a vehicle requires precision and attention to detail. While it may seem intimidating to use a blowtorch during the process, it can be a valuable tool in achieving a seamless and professional-looking vinyl wrap. Here's a step-by-step guide on how to use a blowtorch effectively when vinyl wrapping your vehicle:
1. Safety First: Prepare Your Workspace
Before diving into the vinyl wrapping process, it's crucial to ensure a safe working environment. Here are a few essential safety precautions to follow:
Clear the workspace: Remove any clutter or debris from the area where you'll be working. This will prevent accidents and provide you with ample space to maneuver.
Ventilation: Ensure that your workspace is well-ventilated. Vinyl wrapping involves the use of heat, which can release fumes. Opening windows or using exhaust fans will help dissipate any potentially harmful gases.
Protective gear: Wear appropriate safety gear, including gloves and safety goggles, to protect yourself from burns or any potential hazards.
By taking these safety measures, you can work confidently and minimize any risks associated with using a blowtorch.
2. Choose the Right Blowtorch
Selecting the right blowtorch is crucial for achieving optimal results when vinyl wrapping your vehicle. Here are a few factors to consider when choosing a blowtorch:
Flame control: Look for a blowtorch with adjustable flame control. This feature allows you to regulate the intensity of the flame, providing more precise heat application.
Ignition: Opt for a blowtorch with a reliable ignition system. Some models offer push-button ignition, while others require a separate ignition source such as a lighter. Choose one that suits your preference and comfort.
Size and weight: Consider the size and weight of the blowtorch. A lightweight and compact design will provide better maneuverability, especially when working on intricate details.
Once you've selected the right blowtorch for your vinyl wrapping project, it's time to move on to the next step.
3. Prepare the Surface
Proper surface preparation is essential for a successful vinyl wrap. Follow these steps to ensure a clean and smooth surface:
Clean the vehicle: Thoroughly wash the vehicle using a mild detergent and water. Remove any dirt, grease, or residue that may affect the adhesion of the vinyl.
Remove existing paint imperfections: If there are any scratches or imperfections on the vehicle's surface, consider sanding or buffing them out. This will create a smooth canvas for the vinyl wrap.
Dry the surface: Allow the vehicle to dry completely before applying the vinyl. Any moisture on the surface can interfere with the adhesive properties of the vinyl.
By investing time in preparing the surface, you'll enhance the longevity and overall quality of your vinyl wrap.

4. Apply Heat to the Vinyl
Start with a low flame: Begin by igniting your blowtorch and setting it to a low flame. It's important to start with a low flame to avoid overheating the vinyl or causing any damage.
Hold the blowtorch at a distance: Hold the blowtorch about 6 to 8 inches away from the vinyl surface. This distance allows for even heat distribution and prevents concentrated heat in one area, which could lead to warping or melting.
Move the blowtorch smoothly: Using smooth and consistent motions, move the blowtorch across the vinyl surface. Keep the flame moving at all times to prevent overheating and ensure an even application of heat.
Pay attention to temperature: It's crucial to maintain a balance between applying enough heat to activate the adhesive properties of the vinyl and avoiding excessive heat that could damage the material. If you notice the vinyl becoming too hot or starting to bubble, reduce the flame intensity or increase the distance between the blowtorch and the surface.
Work in sections: Divide the vinyl wrap into manageable sections and focus on one area at a time. Apply heat to each section until the vinyl becomes pliable and easy to manipulate.
Use a squeegee or applicator: As you apply heat, use a squeegee or applicator to press the vinyl onto the vehicle's surface. This helps remove any air bubbles and ensures a smooth and seamless finish.
By following these steps and being mindful of temperature and technique, you'll be able to effectively use a blowtorch to achieve a professional-looking vinyl wrap on your vehicle.
5. Practice Proper Technique
Using a blowtorch requires skill and practice. Here are some additional tips to improve your technique when applying heat to the vinyl:
Keep a steady hand: Maintain a steady hand while operating the blowtorch. This will help you achieve consistent heat application and avoid accidentally overheating or damaging the vinyl.
Work in a well-lit area: Adequate lighting is crucial for identifying any imperfections or bubbles in the vinyl wrap. Ensure that your workspace is well-lit to make the application process more precise.
Avoid excessive heat exposure: While it's important to apply heat to the vinyl, prolonged exposure to high temperatures can cause the material to warp or shrink. Be mindful of the time and heat intensity during the process.
Practice on scrap vinyl: If you're new to using a blowtorch for vinyl wrapping, it's a good idea to practice on scrap vinyl before working on your actual vehicle. This allows you to familiarize yourself with the technique and gain confidence before tackling the real project.
By practicing proper technique and gaining experience, you'll become more proficient in using a blowtorch for vinyl wrapping.
FAQs (Frequently Asked Questions)
Q1: Is using a blowtorch safe for vinyl wrapping a vehicle?
A1: When used correctly and with the necessary precautions, a blowtorch can be safe for vinyl wrapping. It's important to follow safety guidelines, work in a well-ventilated area, and maintain a safe distance between the blowtorch and the vinyl surface to avoid overheating or damaging the material.
Q2: Can I use a hairdryer instead of a blowtorch for vinyl wrapping?
A2: While a hairdryer can provide some heat, it may not generate enough temperature or airflow to effectively conform the vinyl to the vehicle's curves. A blowtorch is specifically designed for tasks that require higher heat levels and can provide better results for vinyl wrapping projects.
Q3: How long should I apply heat to the vinyl with the blowtorch?
A3: The duration of heat application will vary depending on various factors such as the thickness of the vinyl, the ambient temperature, and the complexity of the vehicle's curves. As a general guideline, apply heat for a few seconds at a time, moving the blowtorch continuously until the vinyl becomes pliable and easily manipulated.
Q4: Can using a blowtorch damage the paint on my vehicle?
A4: When used with caution and proper technique, a blowtorch should not damage the paint on your vehicle. It's crucial to maintain a safe distance and avoid prolonged exposure to high heat. If you notice any signs of paint discoloration or blistering, reduce the heat intensity and increase the distance between the blowtorch and the surface.
Q5: Are there any alternative methods to using a blowtorch for vinyl wrapping?
A5: Yes, there are alternative methods that can be used in conjunction with or instead of a blowtorch. Some installers prefer using heat guns, which provide a more controlled airflow and temperature. Additionally, some vinyl wraps are designed to be installed without the need for heat application. It's important to choose the method that suits your comfort level and the specific requirements of your vinyl wrapping project.
Q6: Can I use a blowtorch to remove vinyl wrap from my vehicle?
A6: While a blowtorch can be used for removing vinyl wrap, caution is advised. Excessive heat can damage the underlying paint or cause it to bubble. It's recommended to use a heat gun specifically designed for vinyl removal, as it provides more precise heat control and reduces the risk of paint damage.
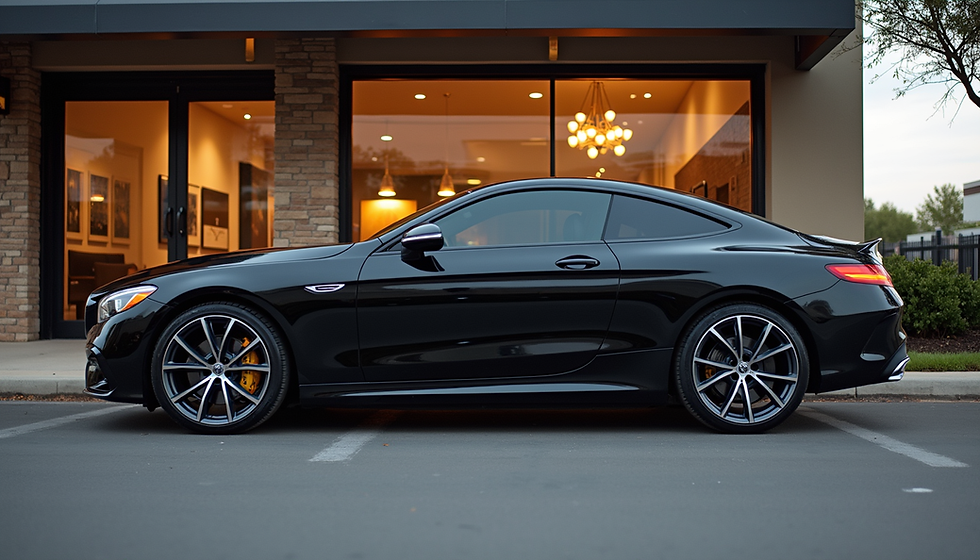
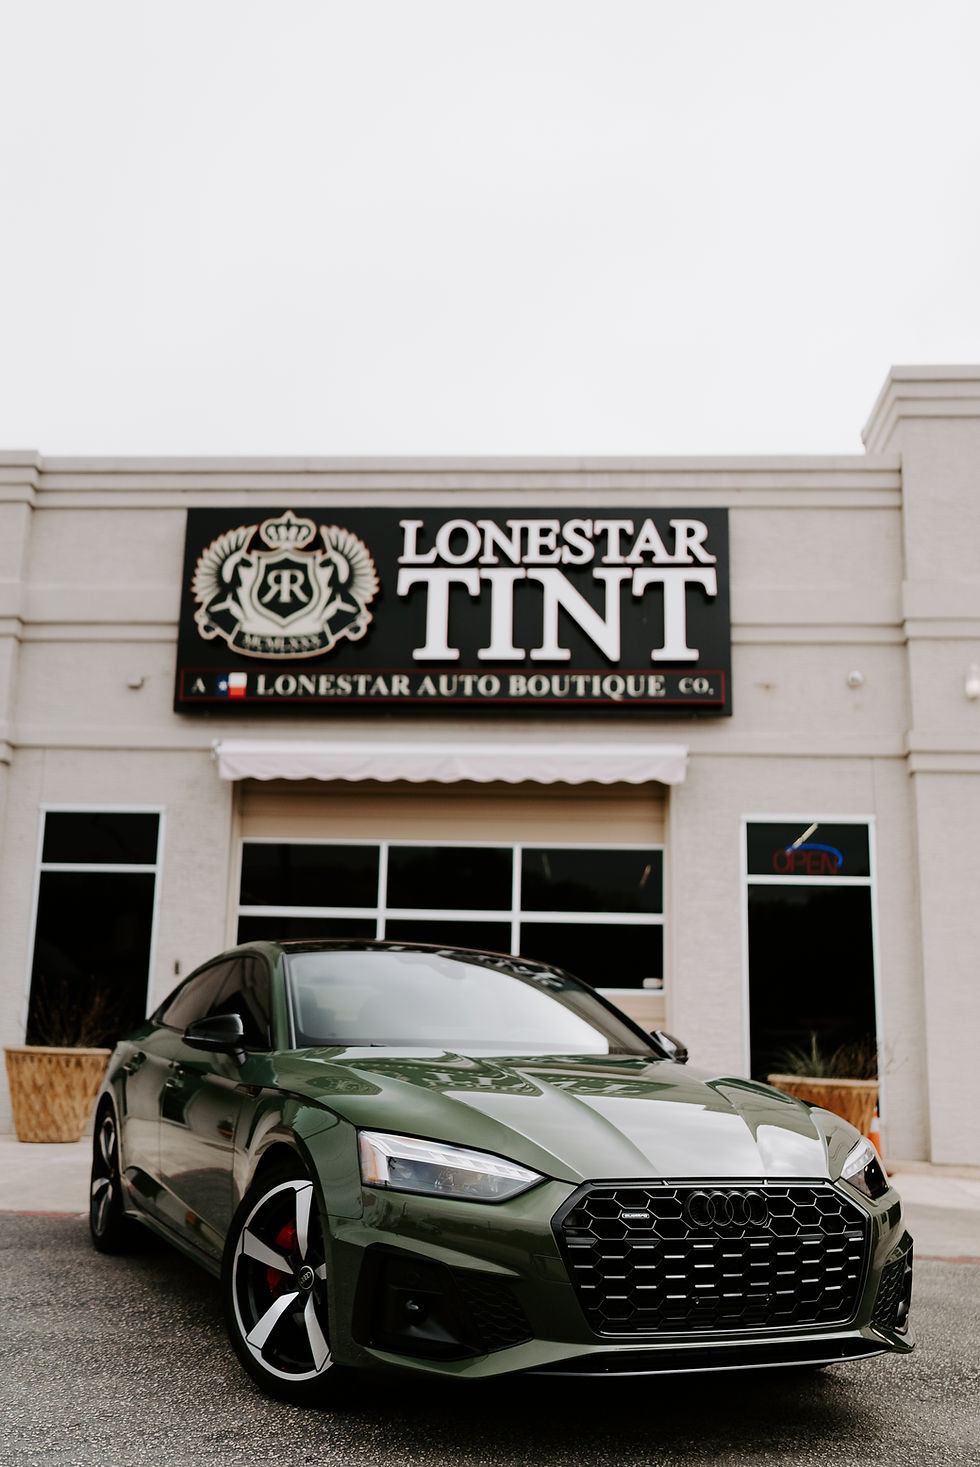
Using a blowtorch when vinyl wrapping a vehicle can be a valuable technique to achieve a professional finish. By following the proper steps and techniques outlined in this guide, you'll be able to utilize a blowtorch effectively and safely. Remember to prioritize safety, practice proper technique, and always be mindful of temperature and heat exposure. Although possible to wrap your own vehicle, it is recommended to contact a professional if you want to save time and have an exceptional job done. If you are in San Antonio or surrounding areas, contact Lonestar Auto Boutique for your free quote asap!